
Science
Frogs and Toads Together: Why do Amphibians Group Up?April 11, 2025

An elementary teacher science blog
Characteristics of living and non living things can be difficult to teach, especially for early childhood learners. Even though we use “living” as a term in our everyday language, scientists use specific characteristics to categorize things into living and non living groups. Scientists define living things as having characteristics of life including: having an organized structure (cells), respiration, movement, response to stimuli, reproduction, growth, and dependency on their environment (Biology Online, 2022). Non living things are simply things that do not have life (and have never lived). These definitions are too advanced for your early childhood learners so let’s break them down to more simple terms with some examples to help improve your teaching of the characteristics of living and non living things.
Living things are easier for many early childhood learners to relate to since people are alive and experience the characteristics of life everyday. When teaching kindergarteners what a living thing is, it is easiest to break it down into four main characteristics. The four most relatable characteristics of living things are that they:

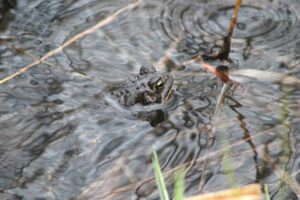
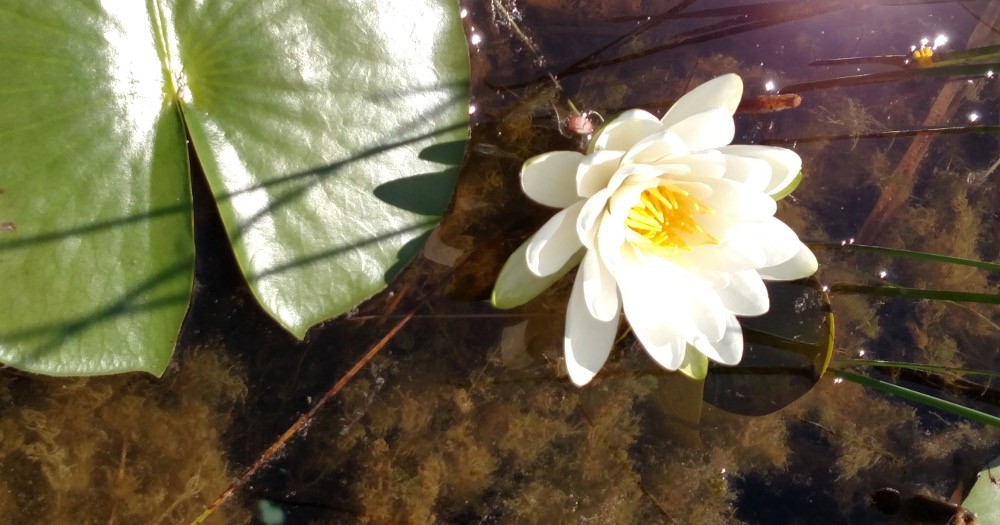
Living things include animals, plants, fungi (different than plants), bacteria, corals, sponges, eukaryotes, and more. Most children will easily relate to things like animals but will be confused by most of the other categories of living things like plants, mushrooms, and corals. Have them keep an open mind during your unit and provide them opportunities to see how some of these things breathe, move, and reproduce.
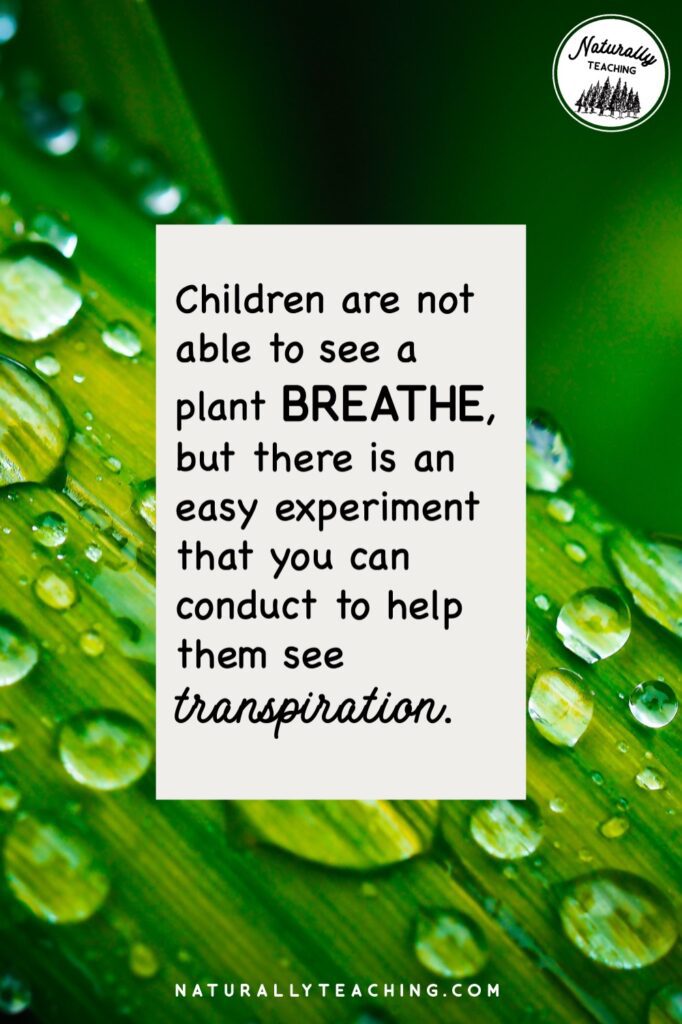
For example, children are not able to see a plant breathe but there is an easy experiment that you can conduct to help them get a concrete visual. Get a gallon sized sealable bag and seal it over the leaves of a plant (this experiment works best if you seal the bag over leaves that are in the sunlight for a few hours). After sealing the bag, leave it for a few hours, and check back to see if there is any condensation on the inside of the bag. The drops that condense on the inside of the bag started as water vapor that transpired out of the leaves of the plant and into the air. The water vapor was caught by the bag which was cool enough for it to condense onto, showing your students that plants “breathe” out.
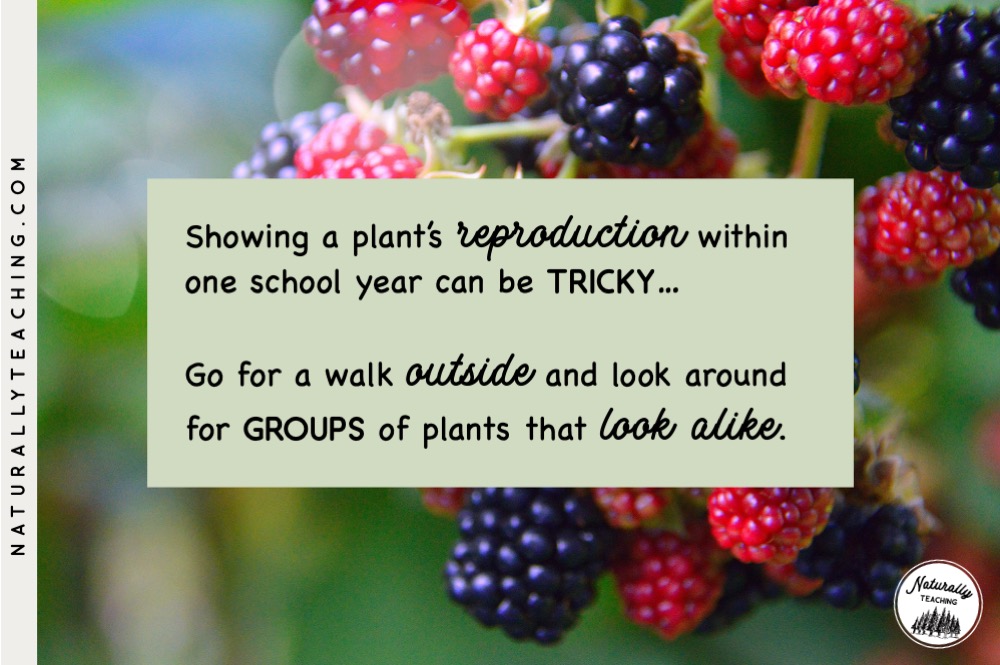
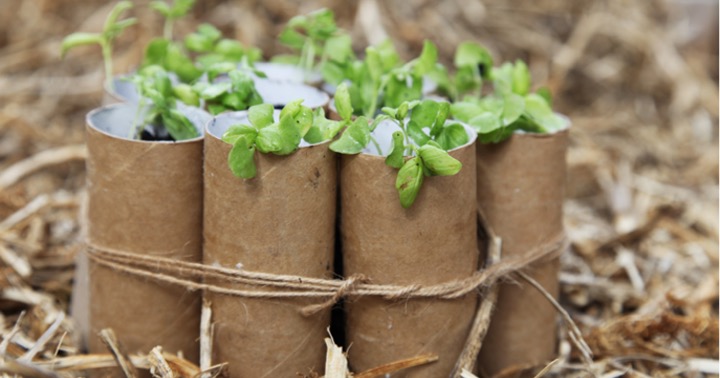
Showing your students a plant’s reproduction within one school year can be kind of tricky. One option is to plant something that grows quickly, like beans, so that it will grow through its entire life cycle within a few months. Another option is to go for a walk outside and look around your school yard to see if there are groups of plants that look alike. Ask your students, “if there are lots of the same plant in one area, do you think that it can reproduce, or make more of itself?” This can be done with other living things too including mushrooms and corals.
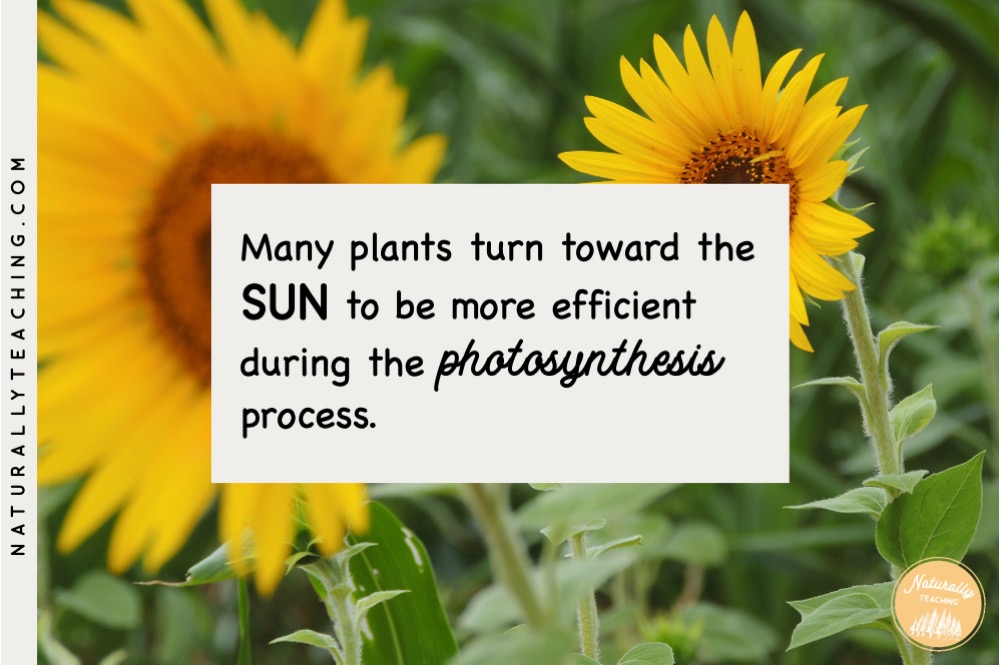
To see if a plant can move, gather an iPad, your phone, or a digital camera and take pictures of plants with your students in the morning. You can use sidewalk chalk to mark on the ground where you were standing when you took the picture. Print the picture out and in the afternoon return to your sidewalk chalk mark and compare the position of the plants from the morning picture to the position of the plants in the afternoon. Alternatively, you could take your picture-taking device out to the sidewalk chalk mark and take a new picture to compare positions when you return to the classroom. Your pictures should show that the plants moved from their original position from the morning to a new position in the afternoon. Many plants turn toward the sun to be more efficient during the photosynthesis process. Being able to see the movement with picture evidence in their own schoolyard can help you convince your students that plants are moving on their own.
Non-living things are a little trickier. Technically, in the scientific field, a non-living thing is something that has never had life (Biology Online, 2022). Non-living things are made up of chemicals and elements. Common non-living things include:

To test if something is non living, have your students think about whether it can move, grow, breathe, and reproduce. Some non living things might look like they move or grow, but they might not fit all four characteristics; ask your students questions and help them investigate different things to figure out if they are living or non living.
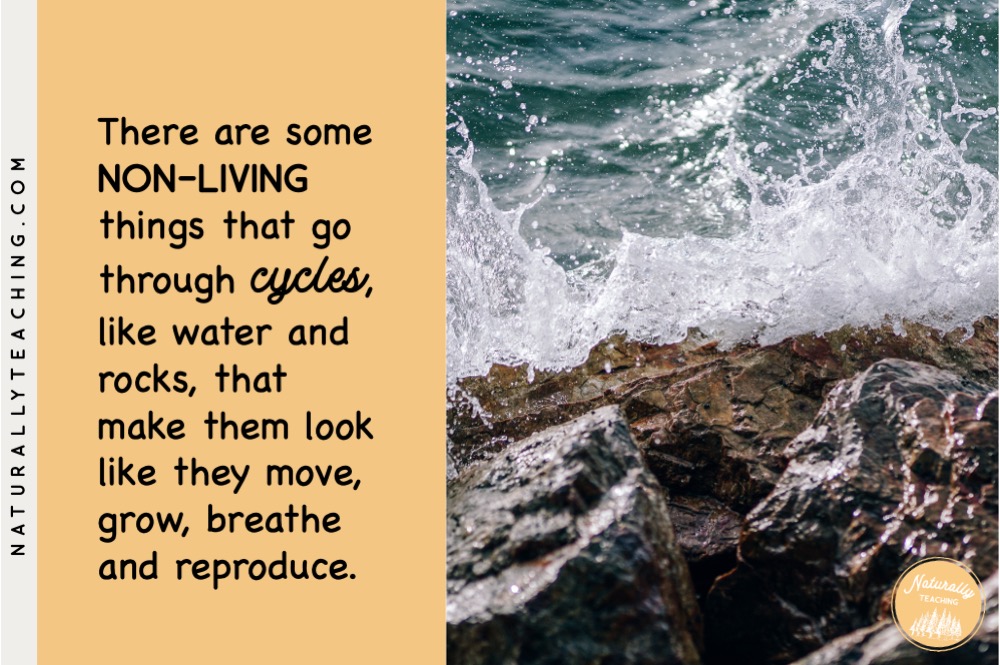
There are some non-living things that go through cycles, like water and rocks, that make them look like they move, grow, breathe and reproduce. These are recycling processes that use pre-existing matter to change and manipulate elements through natural occurrences. For example, water is easily able to change states on Earth which might look to your kindergarteners like it is reproducing, but it is the same material, just changing its look. It also has a polar characteristic which attracts droplets together making it look like it’s growing; again, it is the same material just sticking together like magnets. Water moves by polarity (attraction) or by gravity but doesn’t make its own energy in order to move. Water also doesn’t breathe. By looking closely at the four different characteristics you introduced to your students you can conclude that water is non living.
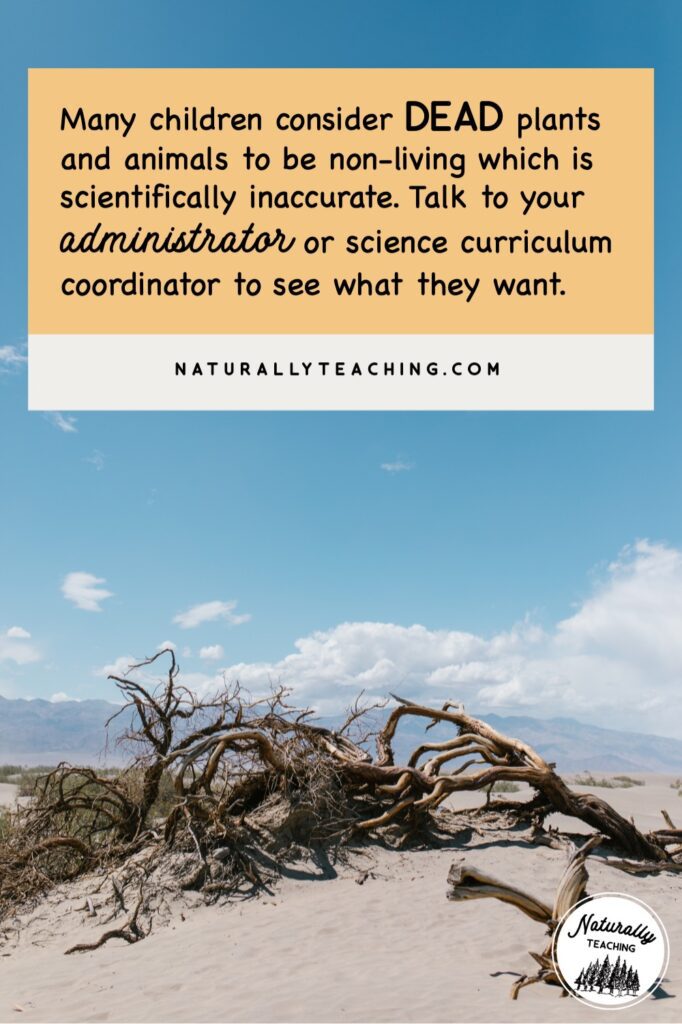
Many children consider dead plants and animals to be non-living things because they can no longer move, grow, breathe, or reproduce. However, this would be scientifically inaccurate (see the definition of a non-living thing above). Although this is technically incorrect, your students are just early childhood learners and they are applying their knowledge from their experiences. Consider talking to your administrator or your district’s science curriculum coordinator to decide if you should get nit-picky at this early stage or if they are okay with students calling dead things non-living things. I have taught this both ways depending on what the district prefers. You could also make “dead” a sub-category to your unit so that your students know there is a difference between dead and non-living.
Teaching living and non living things to kindergarten can give a foundation to introduce the needs of plants and animals for survival. By learning about living and nonliving things, your students will begin to identify living things, recognize that those things have needs to survive, and conclude that living and nonliving things can meet those needs. Looking for a way to introduce living and nonliving things to your students? Check out our living and nonliving resources to help you teach the concept to your early childhood learners!
Bibliography
Biology Online. (2022, May 26). Living Things. https://www.biologyonline.com/dictionary/living-thing
Biology Online. (2022, June 24). Non-living Thing. https://www.biologyonline.com/dictionary/non-living-thing
Have amazing ideas on how to teach living and non living things for early childhood learners? Get some conversations started by including them in the comments below!
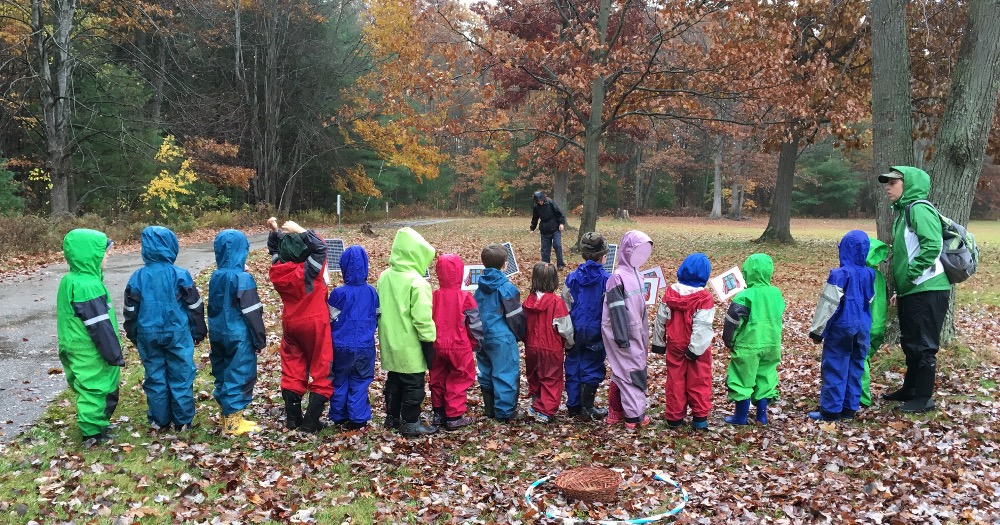
Looking for ways to get your students outside for learning? Check out the article “Outdoor Education: How to Use Nature to Improve Your Science Studies”
0